
Ordering Stencils
- Import all files in the array folder
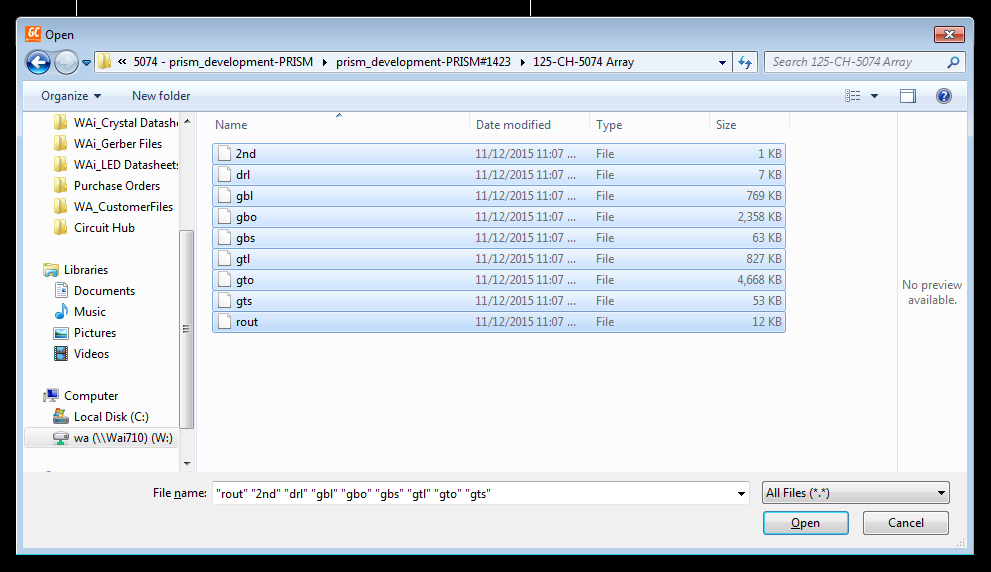
Click Open - OK - OK - OK
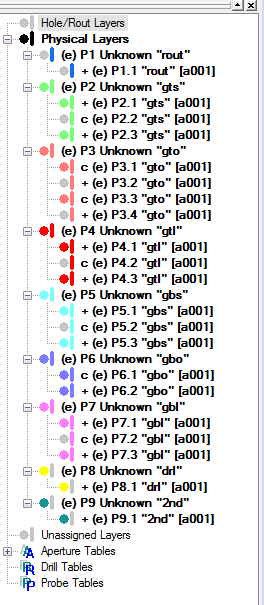
- All layers should automatically be set to "Edit". If not select "Physical Layers" and type "E" and it will make all layers be set to "Edit"
- Move your cursor into the viewing window and type * to select all layers
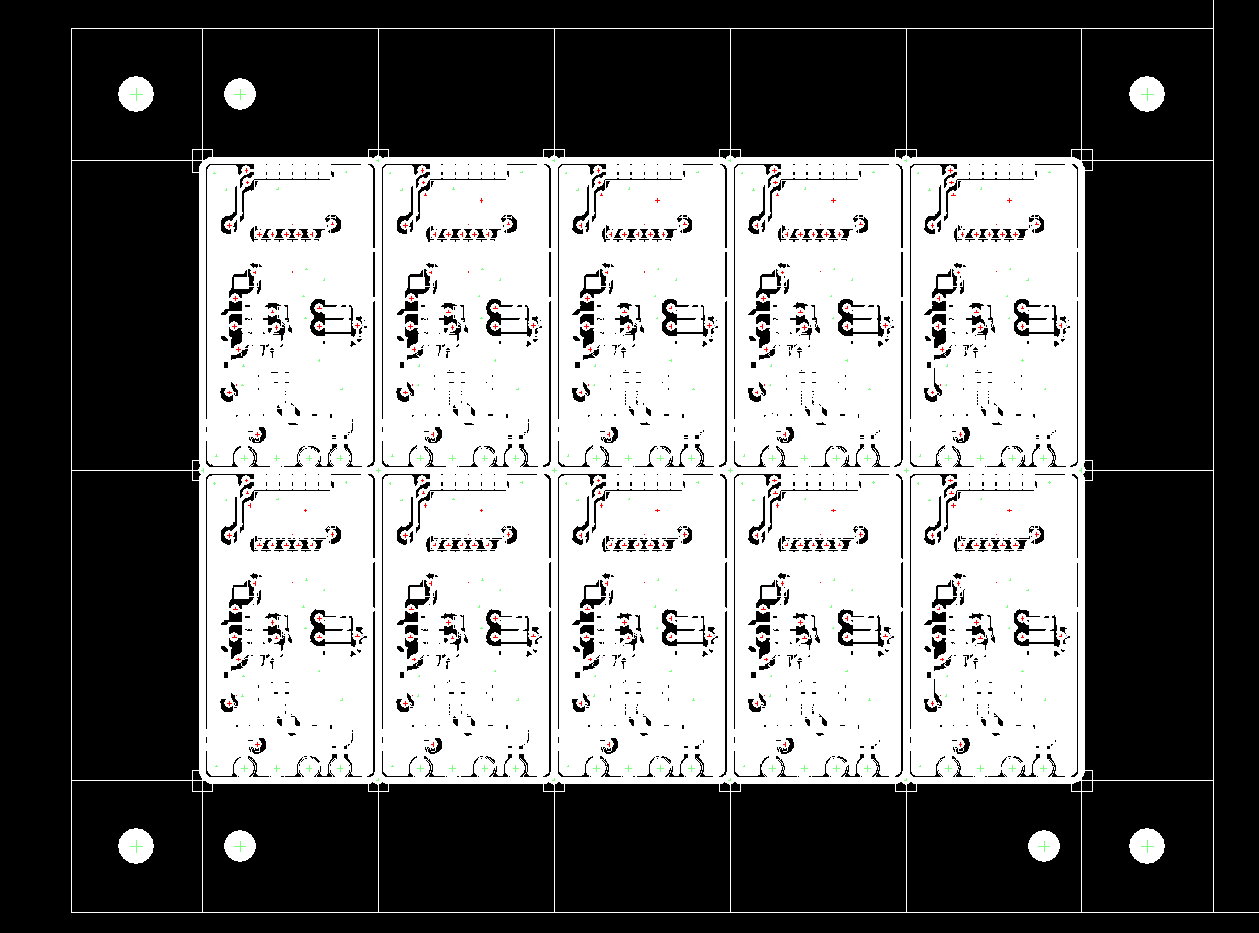
- Rotate the panel such that the longest edge with two fiducials is on the bottom the screen
- Right click and "Zoom to Extents" to see the whole panel
- Right click on Physical Layers and select "Collapse Physical Layers" then type H to hide all layers. Then select silkscreen and outline and type V for each to make those visible. Then find the soldermask layer and type E to make just that layer editable

- Navigate around the panel to find if there are any fine pitch parts.
- To measure anything...
- Move your cursor near an object and type S to lock your cursor on a particular object. Type Z to zero out the Relative measurement in the measurement window. Hit the Spacebar to release your cursor. Now move your cursor to an object that you want to measure to and type S again to lock your cursor onto the center of that object.

- Make note if you find anything more fine pitch than 0.5mm pitch. If there's anything more fine pitch than 0.5mm then we will need to order a 4-mil stencil. Otherwise we always order a 5-mil stencil
- Determine if their is SMT on both sides or just one side
- Hide physical layers. Then select the outline, soldermask botto and silkscreen ottom and type V to make them visible. Look to see if there is any SMT on the bottom side. You can also check the XY data to see if there's any SMT on the bottom side.
- If there is any SMT on the bottom side as well as the top side then we will need to order both images in one stencil if possible.
- Determine the overall panel width
- Using the measurement technique from above, measure the overall panel width to determine if we can fit both images, top and bottom, onto one stencil
- Anything under 150mm will generally be able to fit both images on one stencil.

- When possible, we like to fit two different boards onto one stencil if they meet the following criteria
- Have SMT on only 1 side
- Are under 150mm in width
- Would use the same stencil thickness based on their finest pitch parts