
This is just one article in a series of articles discussing tips and tricks for using a selective soldering machine. Here at Worthington Assembly Inc. we have a selective soldering machine manufactured by RPS Automation. Our particular model is a 2010 Rhythm model. These article are written by the same person who's used this machine every day for years. Sometimes a person can populate a board much quicker than a machine can solder the board. So if you find that you're piling up boards waiting for the machine to finish, there are a number of different things you can do to reduce the throughput time. I will address just one of the ways with this article.
When drawing a path for the machine to follow, it's important to begin your next path as close to where your previous path stopped. If the machine needs to travel a long distance, criss-crossing back and forth around the board, you'll dramatically increase your cycle time and decrease efficiency.
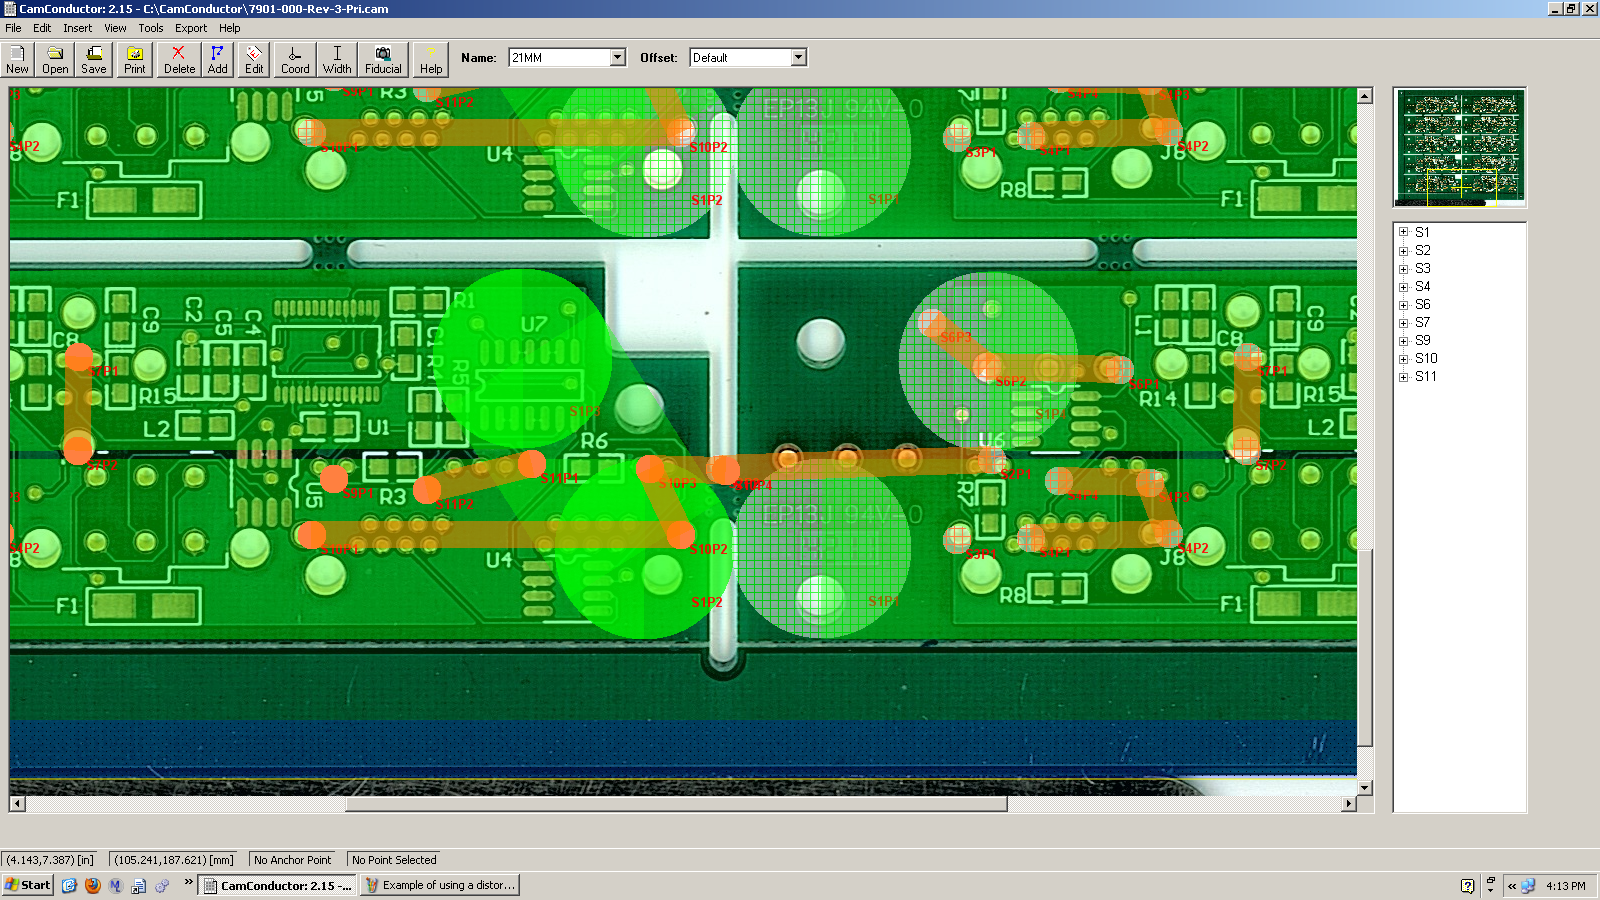
I know this sounds obvious, but by being diligent with this practice, we have decreased cycle times by as much as 50%. How does this happen? Well, when you first program your board, you may not have thought about every little detail. Once you've run a couple of boards for the first time, you notice issues such as missing a part or coming into contact with a surface mount part on the bottom. So you go into the program and add a couple new paths. But each time you do this, you're adding complexity, and if you're adding complexity without considering where your machine needs to travel, you'll ultimately end up wasting a lot of time with the nozzle traveling all around the board with no thought put into it.
As always, if you have any questions, feel free to give me a call at (413) 624-6879 or send me an email at cdenney@worthingtonassembly.com.